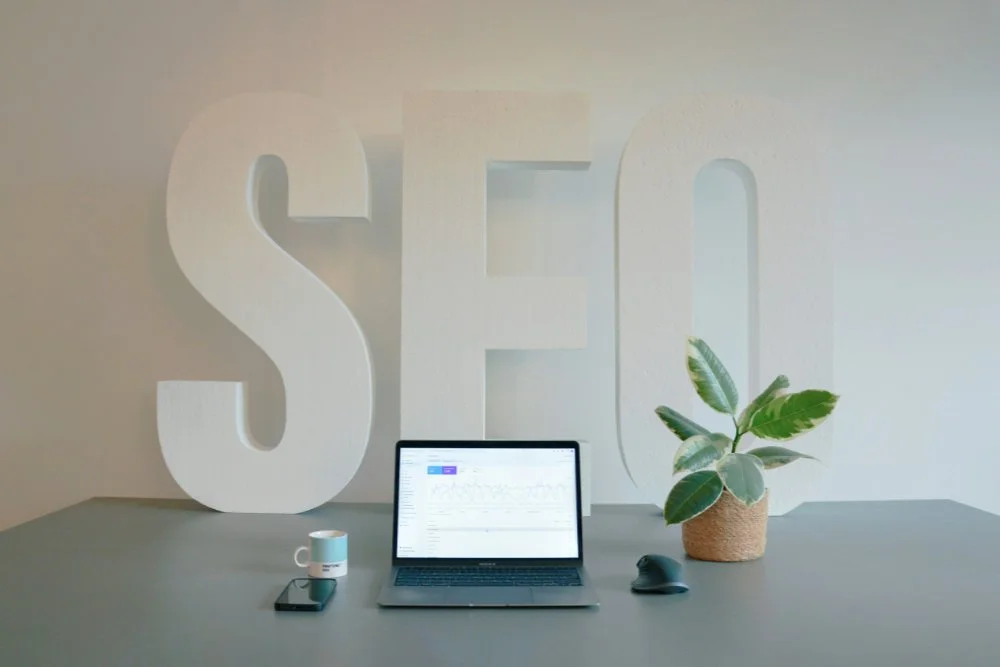
How to Get More Out of Your Squarespace Blog?
As you probably know, Squarespace has a great and handy blog feature. When you create a blog, you can choose from a number of layouts for your blog overview. Squarespace also offers a number of formatting suggestions for your blog posts. Generally, a blog post consists of a title followed by a block of text with one or more images. At the top, you can add a date, author, and a category or tag—and that’s pretty much it.
It would be a shame to stop there. You can actually get a lot more out of a blog post. Someone might have found your blog post through Google and landed on your site that way. That person may not know you or what you offer yet. It would be great if they then clicked through to other pages. Of course, you have your navigation bar at the top, but there are other ways to encourage visitors to stay on your website longer.
In short, what can you do to make your blog post more valuable and increase the chances that people will stay on your website longer?
1. Add a short bio
This way, someone can get to know you right away after reading the blog post. This is especially useful if someone found a blog post—and therefore your website—through Google.
What are some ways to do this?
1. Squarespace’s standard “Show Author Profile” option
In your Squarespace account dashboard, you can add a short bio by clicking “Account Settings” in the top-right corner and going to the “Profile” tab.
This bio appears at the very bottom of your blog post. You can enable this in your blog post settings: “Show Author Profile.” Available only in version 7.1.
Dashboard > Account Settings > Profile > Bio
Settings blog post > Edit Section > Show Author Name
2. Create your own by adding Text and Image blocks
You can also manually add a short piece of text and a profile photo at the bottom of each blog post to serve as your bio. When you start writing a new blog post, duplicate an old one—including your custom bio—so you don’t have to add it over and over again.
The downside, however, is that if you want to update your bio later, you’ll have to do so manually in every blog post.
3. Create them yourself using a Summary block and a separate “Bio Blog”
An alternative to option 2 is to use a Summary block at the bottom of a blog post. Here, you can include blog posts, among other things. Not blog posts from this blog, but blog posts from a blog you create specifically for generating bios (you might want to use different bios depending on the topics covered in your blog).
Place this “Bio Blog” in the “Not Linked” section of your website. Create one blog post for each bio. Enter the text for your bio in the blog post’s excerpt. Add your profile photo as the featured image. (Image 1) Add a unique tag to each bio blog post via the Options tab. (Image 2)
Hide the entire “Blog Bio” from search engines in the blog settings under the SEO tab. (Figure 3)
Now go back to your actual blog post. In the settings for your Summary block at the bottom, go to the Content tab and specify that Squarespace should import from your “bio Blog,” then select the correct tag under Filter. On the Design tab, select List view and set it to display only 1 item.
The advantage of this method is that if you make a small change to your bio, it's automatically updated in all your blog posts via the Summary Block.
Figure 1: Blog Post Settings > Content tab > Featured Image and Excerpt
Figure 2: Blog Post Settings > Options tab > Tags
Figure 3: Blog Settings > SEO tab > Hide from Search Results
💡 Check out the handy plugin at the bottom of this blog post—it makes this option even easier.
2. Add relevant blog posts
To make it easier for your website visitors to click through to another blog post, you can add relevant blog posts at the bottom of your blog post.
Just like in Option 1, you'll be working with a Summary Block here as well. If you're using categories, you can select the category or tag under "Filter " on the " Content" tab.
The downside of this method is that the Summary Block displays the most recent blog posts. So it’s possible that you’ll see your newly published blog post listed at the bottom of your Summary Block alongside the same post.
3. Add an opt-in form for your newsletter or giveaway
If you want to focus on growing your email list, you can add an opt-in form for your newsletter (the Newsletter block) on your blog overview page. In my opinion, this is especially useful if you also share your blog posts via your newsletter.
You can take it a step further by including this opt-in in every blog post. The downside is that if you want to change the text of the opt-in, you'll have to do so manually in every blog post.
💡 Check out the handy plugin at the bottom of this blog post—it makes this option even easier.
4. Add a promotion for a training session or product
If you sell a relevant online course or product that ties in with the topic of your blog post, you can also mention it in your blog post—either at the bottom or perhaps somewhere in the middle if it’s a long blog post.
You can use the same method here as described in option 1.3 (Bio Blog and Summary Block). You can add your product or online course as a blog post to your “Bio Blog” with its own tag.
💡 Check out the handy plugin at the bottom of this blog post—it makes this option even easier.
5. Add a search function
To make it easier for your website visitors to find something specific, it's a good idea to add a search function to your blog index.
There are two ways to do this, namely by adding:
A Search block
This allows users to enter their own search queries. In the Search block settings, you can configure it so that searches are limited to your blog rather than your entire website.An Archive block
If you use categories and/or tags in your blog, you can also add an Archive block so that your website visitors can, for example, filter by topic and see only those blog posts in the blog overview.
You can find these two blocks in the blocks overview (scroll all the way to the bottom). I've included both of them in my own blog overview.
💡Plugin tip:
To make options 1, 3, and 4 easier, Will Myers has developed a handy plugin.
With this plug-in, you can, for example, create a separate page for your newsletter opt-in, your online course, or your bio, and then use a snippet of code to embed it in your blog posts. If you want to make any changes, you do so on that separate page, and the code will then update all your blog posts accordingly. Easy peasy.
You can find the Section Loader Supreme plugin here:
https://www.will-myers.com/products/p/section-loader-supreme (affiliate link)
Cost: $20